
3 Aloe Vera Masks for Soft and Silky Hair
Does your hair need a vitality boost? Aloe vera hair masks are the natural solution you’ve been looking for. This miraculous ingredient is not only known for its moisturizing and soothing properties but can also revitalize your hair from root to tip. Imagine softer, shinier, and more vibrant hair with every application.
The magic of aloe vera lies in its ability to deeply nourish the scalp and strengthen each strand. By incorporating these masks into your hair care routine, you’re not only choosing a natural product but also opting for an effective and economical option. Ready to transform your hair and give it the care it deserves? Discover how aloe vera can become your best ally for a spectacular mane.
Don’t forget that on our website you’ll find our handcrafted aloe vera shampoo, but if you prefer to make your own shampoo at home, keep reading.
Types of Homemade Aloe Vera Masks
Aloe vera masks are useful for hair care. You can combine them with other ingredients to enhance their benefits.
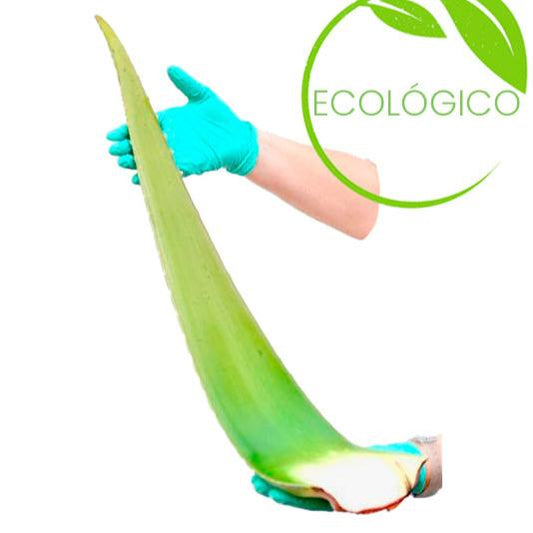
For all three recipes, you will need two fresh aloe vera leaves and a blender.
You must prepare the leaves properly. You can watch our explanatory video to learn how. Then, simply blend the aloe vera pulp with the other ingredients according to the mask you choose.
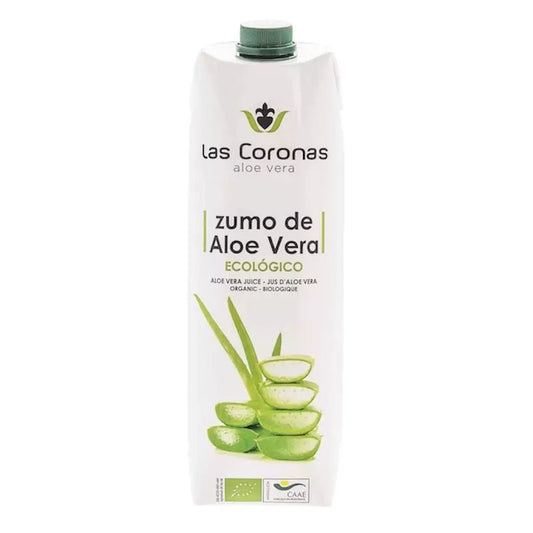
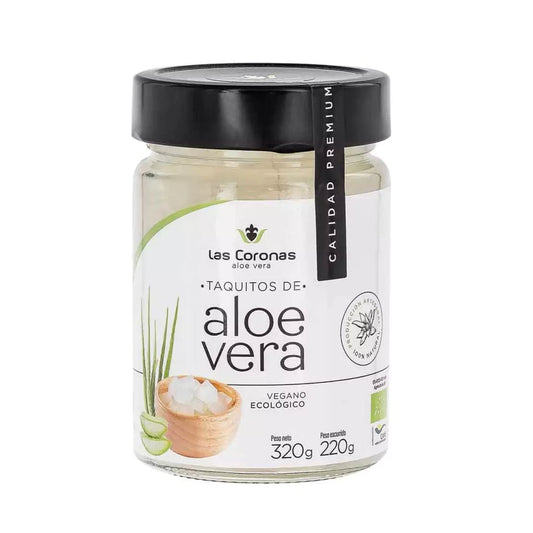
If you don’t have either, you can use our pure aloe vera gel.
Aloe Vera Mask with Lemon Juice
Lemon juice adds natural astringent properties to your aloe vera mask. Mix two tablespoons of aloe vera gel with the juice of half a lemon. Apply this mixture to your hair and leave it on for 20 minutes. When rinsing, enjoy a fresh sensation, ideal for oily hair or dandruff.
Aloe Vera Mask with Olive Oil or Coconut Oil
Increase hydration by combining aloe vera with oils. Use two tablespoons of aloe vera gel and mix with one tablespoon of extra virgin olive oil or coconut oil. Apply from roots to ends. Leave on for 30 minutes to deeply condition and hydrate.
Aloe Vera Mask with Honey
Honey softens and nourishes when combined with aloe vera. Mix two tablespoons of aloe vera gel with one tablespoon of honey. Spread this mixture evenly through your hair. Let it sit for 15 to 20 minutes before rinsing to achieve a soft and silky texture.
How to Apply Aloe Vera Masks
Applying aloe vera masks to your hair can maximize their moisturizing and repairing benefits. Follow these steps to ensure effective application.
Hair Preparation
Wash your hair well before applying the mask to remove product residue and dirt. Use warm water to open the cuticles, allowing aloe vera to penetrate better. Towel dry lightly so your hair is damp but not soaking wet.
Application Time and Recommended Frequency
Leave the mask on your hair for 20 to 30 minutes to let the nutrients work. Use a shower cap to enhance the effect. Apply the mask once a week if you have normal or dry hair. If your hair is oily, you can limit use to every two weeks.
Expected Results
When applying aloe vera masks to your hair, you’ll notice significant changes that enhance its appearance and health.
Improvement in Hair Texture
Aloe vera strengthens the hair structure. Hair fibers feel softer to the touch. With regular use, you’ll see a reduction in frizz. Additionally, hair will be more manageable when styling.
Increase in Natural Shine
Hair shine intensifies with aloe vera use. Strands reflect light better, giving a healthier look. This luminosity results from the deep hydration aloe provides. You’ll notice dullness disappears, revealing livelier, more attractive hair.
Conclusion
Incorporating aloe vera masks into your hair care routine can transform the health and appearance of your hair. By harnessing aloe’s natural benefits, you’ll achieve more hydrated, shiny, and manageable hair.
No matter if your hair is dry, oily, or normal, there’s always a mask recipe that suits your specific needs. Experiment with different combinations and discover which works best for you.
Also, by following the application tips, you’ll maximize results, enjoying healthier, more vibrant hair.